

 English
 中文简体
中文简体 русский
 عربى
عربىNews
Professional supplier of environmentally friendly adhesives
 Search
 +86 178 5710 2305

Search
+86 178 5710 2305

What Is Wood Panel Joint Adhesive and How Do You Use It Right?
Content
- 1 What Is Wood Panel Joint Adhesive and Why It Matters
- 2 Types of Wood Panel Joint Adhesive You Can Choose From
- 3 How to Pick the Right Wood Panel Joint Adhesive for Your Project
- 4 Step-by-Step: Applying Wood Panel Joint Adhesive Correctly
- 5 Common Mistakes to Avoid When Using Wood Panel Joint Adhesive
- 6 How to Fix Joints That Fail After Using Wood Panel Joint Adhesive
What Is Wood Panel Joint Adhesive and Why It Matters
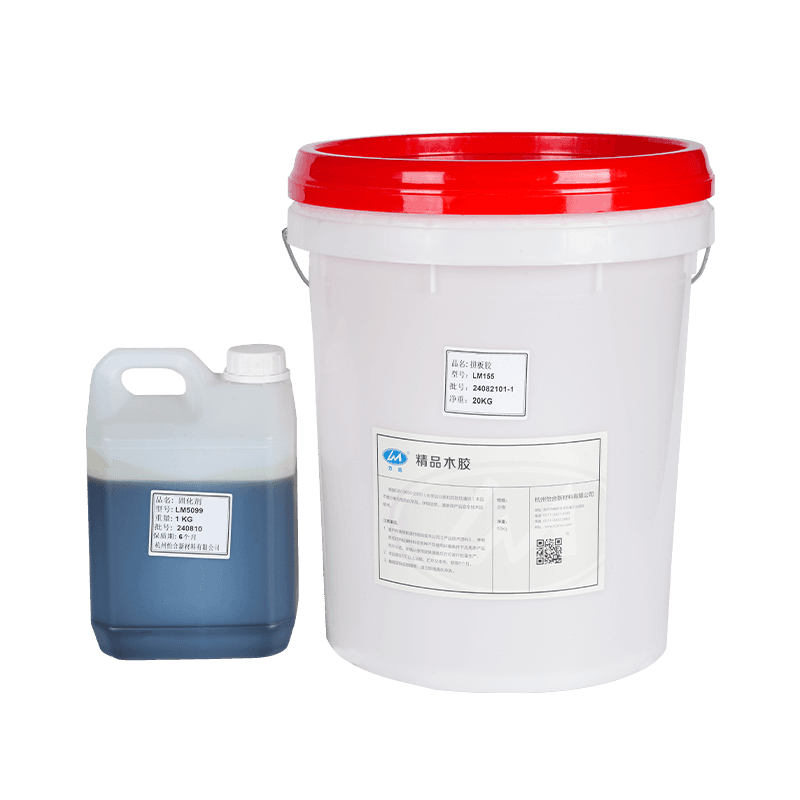
Wood panel joint adhesive is a specialized bonding compound used to fill and seal the seams between wood panels, plywood sheets, MDF boards, and other engineered wood products. Unlike general-purpose wood glue, which is designed mainly to bond two pieces of wood face-to-face, joint adhesive is formulated to bridge gaps, resist cracking, and create a smooth, paintable surface once dry. This makes it essential for wall paneling, cabinetry, subflooring, and furniture assembly where visible seams would ruin the finished look.
A good wood panel joint adhesive does more than just hold panels together. It also compensates for natural wood movement caused by temperature and humidity changes, which helps prevent the joint from splitting open months after installation. Choosing the right product and applying it correctly is the difference between a seamless, professional-looking surface and one that shows cracks, gaps, or discoloration over time.
Types of Wood Panel Joint Adhesive You Can Choose From
Not all wood panel joint adhesives are built the same way, and picking the wrong type can lead to weak bonds or visible seams. Here's a breakdown of the most common options and where each one works best.
| Adhesive Type | Best Use Case | Dry Time |
| PVA Wood Glue | Interior panels, furniture joints | 24 hours |
| Polyurethane Adhesive | Outdoor or moisture-prone panels | 1-2 hours |
| Wood Joint Filler/Compound | Seam filling before painting | 30-60 minutes |
| Construction Adhesive | Heavy-duty panel-to-wall bonding | 24-48 hours |
PVA-based wood glues are the go-to choice for most indoor woodworking projects because they're affordable, easy to sand, and dry with a clear finish. Polyurethane adhesives expand slightly as they cure, which helps them fill tiny gaps, making them ideal for panels exposed to humidity or temperature swings. If your main goal is a smooth, paint-ready seam rather than structural strength, a dedicated joint filler or seam compound is usually the better pick.
How to Pick the Right Wood Panel Joint Adhesive for Your Project
Selecting the correct adhesive comes down to a few key factors: where the panels will be installed, how much movement the joint will experience, and whether the seam needs to be invisible after painting. Before buying, walk through these questions.
Is the Application Indoor or Outdoor?
Indoor panels with stable humidity levels can usually rely on standard PVA wood glue. Outdoor or bathroom installations need a water-resistant or waterproof adhesive, such as a polyurethane or exterior-grade construction adhesive, to prevent the joint from breaking down over time.
Will the Joint Be Painted or Left Natural?
If the panel will be painted, a sandable joint compound or filler adhesive gives you a flat, blendable surface. If the wood grain will stay visible, choose a glue that dries clear or matches the wood tone closely, since some adhesives can leave a slight yellow or amber tint.
How Much Weight or Stress Will the Joint Bear?
Cabinetry, shelving, and structural panels need a higher-strength adhesive, while decorative wall paneling can often get by with a lighter-duty product. Always check the manufacturer's load rating if the joint will support weight.
Step-by-Step: Applying Wood Panel Joint Adhesive Correctly
Applying wood panel joint adhesive properly takes more than just squeezing it into the gap. Follow these steps to get a strong, clean, long-lasting seam.
- Clean both panel edges thoroughly, removing dust, sawdust, and any old finish or wax that could weaken the bond.
- Dry-fit the panels first to confirm the gap width and check for any warping that needs correcting before gluing.
- Apply the adhesive in a thin, even bead along the joint, using a putty knife or caulking tool for wider seams.
- Press the panels together and use clamps or painter's tape to hold them in place while the adhesive cures.
- Wipe away excess adhesive immediately with a damp cloth before it hardens, since dried squeeze-out is much harder to remove.
- Let the joint cure fully according to the product's instructions before sanding, painting, or applying weight to the area.
Common Mistakes to Avoid When Using Wood Panel Joint Adhesive
Even experienced DIYers run into problems with panel joints, usually because of a few avoidable errors. Watch out for these common issues.
- Applying too much adhesive, which causes excessive squeeze-out and can push panels out of alignment.
- Skipping the clamping step, resulting in a weak bond that separates under normal stress or vibration.
- Using an interior-rated adhesive on an exterior or high-moisture panel, which leads to early joint failure.
- Sanding or painting before the adhesive has fully cured, which can trap moisture and weaken the seam.
- Ignoring temperature guidelines, since many adhesives fail to cure properly in cold or overly humid conditions.
How to Fix Joints That Fail After Using Wood Panel Joint Adhesive
Even with careful application, panel joints can sometimes crack or separate, especially in areas with fluctuating humidity. If you notice a failed joint, start by scraping out any loose or crumbling old adhesive with a putty knife, then sand the edges lightly to expose fresh wood surfaces for better bonding.
Once the area is clean, apply a fresh bead of adhesive suited to the panel's environment, following the same clamping and curing process as the original installation. For panels that repeatedly crack along the same seam, consider adding a flexible, paintable caulk over the adhesive line to absorb minor movement and keep the joint looking seamless long-term.
Recommended Products

Our Global
Business Partners
Business Partners











About Us
Products
- Water Based PVC Vacuum Thermoforming Adhesive Series
- Water-Based PVC Lamination Adhesive Series
- Premium Woodworking Adhesive Series
- PUR Hot Melt Adhesive Series
- EVA Hot Melt Adhesive Series
- Automotive Interior Adhesive
- Adhesive For Other Applications
- Environmentally Friendly Adhesives
- Profile Wrapping Adhesives
Contact Us
- Add: Dongxi Industrial Park, Fenshui Town, Tonglu County, Hangzhou, China
- Tel: +86 178 5710 2305
- E-mail: [email protected]
- whatsapp: +852 9215 7996
We'd love to
hear from you!
Copyright © Hangzhou Yihe New Materials Co., Ltd. Rights Reserved.
Eco Friendly Glue Suppliers
