English
 中文简体
中文简体 русский
 عربى
عربىNews
Home / News / Industry News / Wood Veneer Adhesive: A Simple Guide to Getting a Perfect Bond Every Time
 Search
 +86 178 5710 2305


Content
Wood veneer adhesive is the glue that bonds a thin layer of real wood veneer to a substrate such as plywood, MDF, particleboard, or even an older piece of furniture that needs a facelift. Unlike regular wood glue used for joining solid lumber, veneer adhesive has to spread evenly across a large, flat surface, stay flexible enough to prevent cracking, and dry without leaving bumps or bubbles under the thin wood layer. Choosing the wrong adhesive is one of the most common reasons veneer projects fail, whether that shows up as peeling edges, bubbling in the middle of a panel, or a wavy surface that telegraphs through the finish.
Because veneer is only a fraction of a millimeter thick, it reacts quickly to moisture, heat, and pressure. This means the adhesive you pick needs to match not just the veneer species but also the substrate, the tools you have on hand, and how the finished piece will be used. A kitchen cabinet door, for example, faces very different stress than a decorative wall panel, so the glue requirements are not the same.
There is no single "best" wood veneer adhesive — each type has strengths suited to different projects. Here is a quick comparison to help you match the glue to the job.
| Adhesive Type | Best For | Open Time | Water Resistance |
| PVA (Yellow Glue) | Flat panels, press or clamp veneering | 10–15 minutes | Low to moderate |
| Contact Cement | Countertops, edges, vertical surfaces | 15–30 minutes | Moderate |
| Hide Glue | Antique restoration, hand veneering | Short, needs heat | Low |
| Urea Formaldehyde | Vacuum press, curved veneering | 20–40 minutes | High |
| Iron-On Veneer Adhesive | Small repairs, DIY projects | Activated by heat on demand | Moderate |
Water-based PVA is the most common wood veneer adhesive for hobbyists and small shops because it is affordable, easy to clean up, and works well with clamps or a veneer press. It dries clear and sands cleanly, which makes it forgiving for beginners. The main downside is that too much moisture can cause thin veneer to curl or bubble, so applying an even, thin coat is essential.
Contact cement is applied to both the veneer and the substrate, allowed to dry until tacky, and then pressed together. It bonds instantly on contact, which makes it a favorite for vertical surfaces like cabinet sides or countertop edges where clamping isn't practical. Because there is almost no room for repositioning once the surfaces touch, careful alignment before pressing is critical.
Hide glue is a traditional choice for antique furniture restoration and fine hand veneering. It's reversible with heat and moisture, which is exactly why restorers love it — a damaged section can be re-glued without stripping the whole surface. It does require more skill and often a veneer hammer or heated iron to apply correctly.
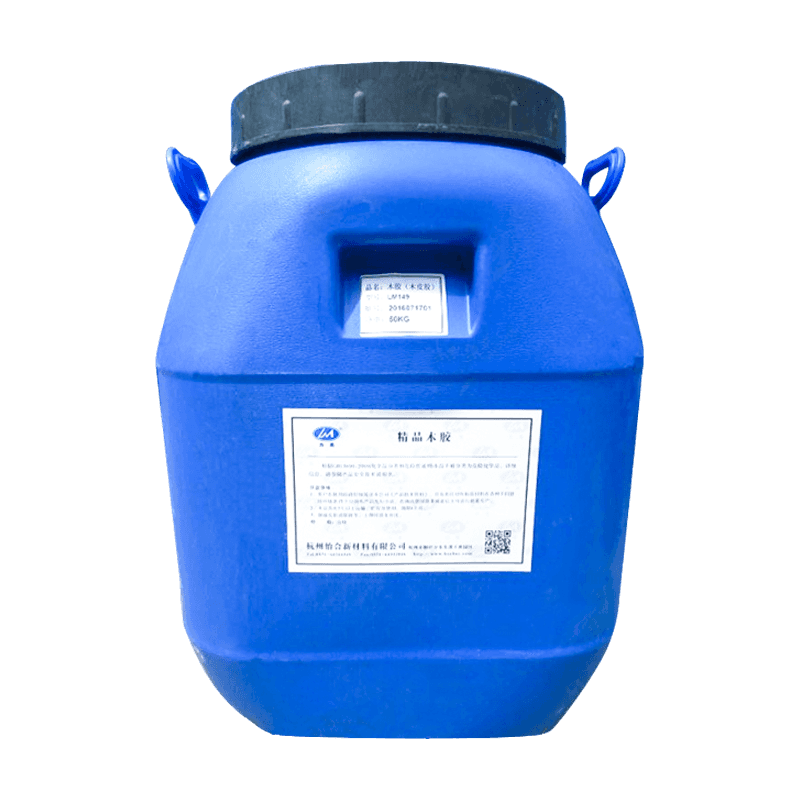
Picking the right glue comes down to a few practical questions rather than brand preference. Walk through these factors before buying anything.
Regardless of which adhesive you choose, the application process follows a similar sequence. Skipping steps is the fastest way to end up with bubbles, gaps, or peeling edges later.
Most veneer failures trace back to a handful of avoidable errors during glue application. Watching for these will save time, material, and frustration.
Wood veneer adhesive doesn't last forever, and using expired glue is a common reason for weak bonds even when the application process was done correctly. PVA glues typically last one to two years unopened, but once opened, exposure to air can shorten that significantly. Contact cement should be stored in a sealed container away from heat sources, since it can thicken or separate over time. Urea formaldehyde adhesives are often sold as a powder mixed with water right before use, so only mix what you plan to use within the working time listed on the packaging.
Always check the consistency and smell of adhesive before starting a project. Thickened, clumpy, or foul-smelling glue is a sign it has broken down and won't provide a reliable bond, no matter how carefully the rest of the veneering process is done.











Copyright © Hangzhou Yihe New Materials Co., Ltd. Rights Reserved.
Eco Friendly Glue Suppliers